Wednesday, December 3, 2014

Steps for 2D to 3D printing @RCILibrary

Steps for 2D to 3D printing @RCILibrary

EUREKA! We've found a way to include more students in the world of 3D printing allowing them to hand-draw (2D) designs to print.

  1. Create your drawing, black line on white paper (all lines must touch and not be floating separately unless you intend to put it all on a solid base in step 4.)
  2. Take a photo of your drawing .
  3. Upload the photo (as a .jpg) to http://www.online-convert.com/ to convert from .jpg to .svg file FullSizeRender (3).jpg
  4. Import the .svg file into Tinkercad, then add/delete/fix/resize as you wish in Tinkercad (ex. you could add a solid base, or change thickness , fill in gaps etc).
  5. From Tinkercad, “download for 3D printing” as an .stl file

  6. Upload the .stl file to cloud.netfabb.com (now https://netfabb.azurewebsites.net/ ) to “fix” any gaps
  7. Upload/drop the “fixed.stl” file to MakerWare
  8. In Makerware: resize as you wish, pick which extruder (color) you want, select if it will need supports or a raft, and “make” the .xg3 file, and save the .thing file (as backup, which you can re-edit in Makerware later) (Figure 3). Screen Shot 2014-11-19 at 4.55.12 PM.png
  9. Copy the .xg3 file onto the library Makerbot SD card
  10. Pick a time you have (with library aid) to run the print!  (Figure 4)
  11. the printed item: IMG_0174.JPG  
@LisaJDempster Riverdale CI Toronto Ontario Canada


Trials with Makerbot's Digitizer - Star Trek replicating soon?

It has been quite a sudden learning curve, but our intrepid in-house 3D student experimenter (Andrew Bradley) has been steadily testing and observing and improving the use of the Makerbot Digitizer that our deal-finding principal (Kenn Harvey) brought in Monday.
Andrew unboxing the digitizer

1) Straight out of the box, it produced some pretty scary blobs:
From this to this

2) then we adjusted the lighting, and found that a COMPLETE DARKNESS around the digitizer, minimizing any other light interference with the lasers, helped tremendously.
Below are the original object (on the left), an 80% sized print (center) and a 50% sized print, with the digitizer rendering below

It is still a fairly primitive copy, kind of fuzzy on the details, and a few details missed altogether (one fin is short, one side of the tail fin has gaps). But it is recognizable and fixable.

3) And here's the magic black box our resourceful principal made to block out the light (with little to no shiny tape on the inside to avoid laser reflections):


4) Our attempt at replicating digitizing and printing a copy of a calculator created new issues: the laser/camera setup cannot interpret the glass surface of the display window and light-charge windows, so it simply left them out (big holes). Kind of funny and cute. We printed a tiny replica:

Pretty fuzzy on the details and sloppy edges, but recognizable.


So it isn't a Star Trek replicator... yet. Early days, not quite ready for prime time, but the software and hardware will no doubt improve in the next few years.


Wednesday, October 15, 2014

STEM geeky stuff

Neato keen new learning tools:

  1. A pen to write circuits! oooooooo!

    The kickstarter got funded and they are now for sale.

  2. Plus a cool game-based question system, Kahoot

Saturday, October 11, 2014

Shadowing students to reflect on teaching practice

A wonderful way to think about teaching. And what a fantastic job that would be. Even better if teachers and students could elect someone to the post.

A veteran teacher turned coach shadows 2 students for 2 days – a sobering lesson learned

Tuesday, October 7, 2014

3D printing

Oh man! A whole year to catch up on learn from! Start: One 3D print every day from home, for a year  to finish.Terrific notes, helps all Makerbot users. Thanks @Mathgrrl

And for some serious home tinkering with a 3D printer, check out what Peter from Sweden has made in a year.

Oh, and... LISAJ DEMPSTER IS GOING TO MARS! On NASA's Orion test flight Dec. 2 2014. Here's my boarding pass:


You can too (send your name to Mars) http://t.co/4XaLx03shG

Monday, September 29, 2014

Fine ideas for a new year

Just a few ideas as we plunge into a new year.

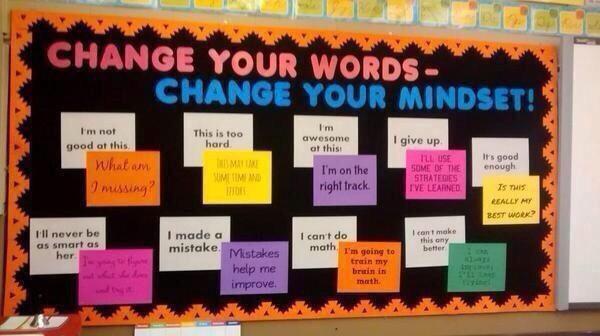
Mindsets, mind shifts, learning and the brain, Fixed vs Growth mindsets. Subtle but critical shifts in thinking. I came across this handy visual with thought suggestion shifts for students who get stuck in their mindsets:
Embedded image permalink

And  Growth vs. Fixed mindset:

And the research associated with it.

And for those of us in the neighbourhood, the New York Times feature Gerrard & Coxwell's Little India this summer:


Sunday, September 14, 2014

Digital distractions in class

I just read this very compelling article about "lids down", or having students not use any digital devices during his lectures or class discussions:

Why I Just Asked My Students To Put Their Laptops Away 

by Clay Shirky
https://medium.com/@cshirky/why-i-just-asked-my-students-to-put-their-laptops-away-7f5f7c50f368

As a professor (of social media no less), lectures are a normal mode of teaching, as distinct from our more active learning classroom processes K-12. 
But he does a great job of explaining the challenges of maintaining attention and focus while being distracted with personal devices set up precisely to do just that. 

I've pulled out a few quotes here, so except for {curly brackets mine}, these are Clay Shirky's words:

·         Stay focused. (No devices in class, unless the assignment requires it.)
·         Both the form and the content of a Facebook update are almost irresistibly distracting, especially compared with the hard slog of coursework.
·         Humans are incapable of ignoring surprising new information in our visual field...
·         Jonathan Haidt’s metaphor of the elephant and the rider is useful… the mind is like an elephant (the emotions) with a rider (the intellect) on top. The rider can see and plan ahead, but the elephant is far more powerful. Sometimes the rider and the elephant work together (the ideal in classroom settings), but if they conflict, the elephant usually wins. {especially in young people}
·         {...came to view students as ...} people trying to pay attention but having to compete with various influences, the largest of which is their own propensity towards involuntary and emotional reaction.
·         Regarding teaching as a shared struggle changes the nature of the classroom. It’s not me demanding that they focus — it’s me and them working together to help defend their precious focus against outside distractions. I have a classroom full of riders and elephants, but I’m trying to teach the riders.
·         ...it’s me against a brilliant and well-funded army.... These {software/app/device} designers and engineers have every incentive to capture as much of my students’ attention as they possibly can, without regard for any commitment those students may have made to me or to themselves about keeping on task.
·         The fact that hardware and software is being professionally designed to distract was the first thing that made me willing to require rather than merely suggest that students not use devices in class. 
·         Anyone distracted in class doesn't just lose out on the content of the discussion, they create a sense of permission that opting out is OK, and, worse, a haze of second-hand distraction for their peers. 
·         ...not a switch in rules, but a switch in how I see my role. Professors are at least as bad at estimating how interesting we are as the students are at estimating their ability to focus.
·         I’m coming to see student focus as a collaborative process. It’s me and them working to create a classroom where the students who want to focus have the best shot at it, in a world increasingly hostile to that goal.

This is primarily directed at lectures and seminar discussions, not the intentional and purposeful use of digital devices for learning and creating in our classrooms.
Using board-provided devices over personal devices may lessen a degree of distraction as they are not usually set up with the myriad of personalized social media plug-ins that constantly intrude.
Digital note-taking is also becoming a legitimately preferred mode for many (myself included), so we'll need to work extra hard to help our students block out distractions.
Perhaps some of them would like to read this article. 

Onward!


Tuesday, April 15, 2014

Our students have superpowers!

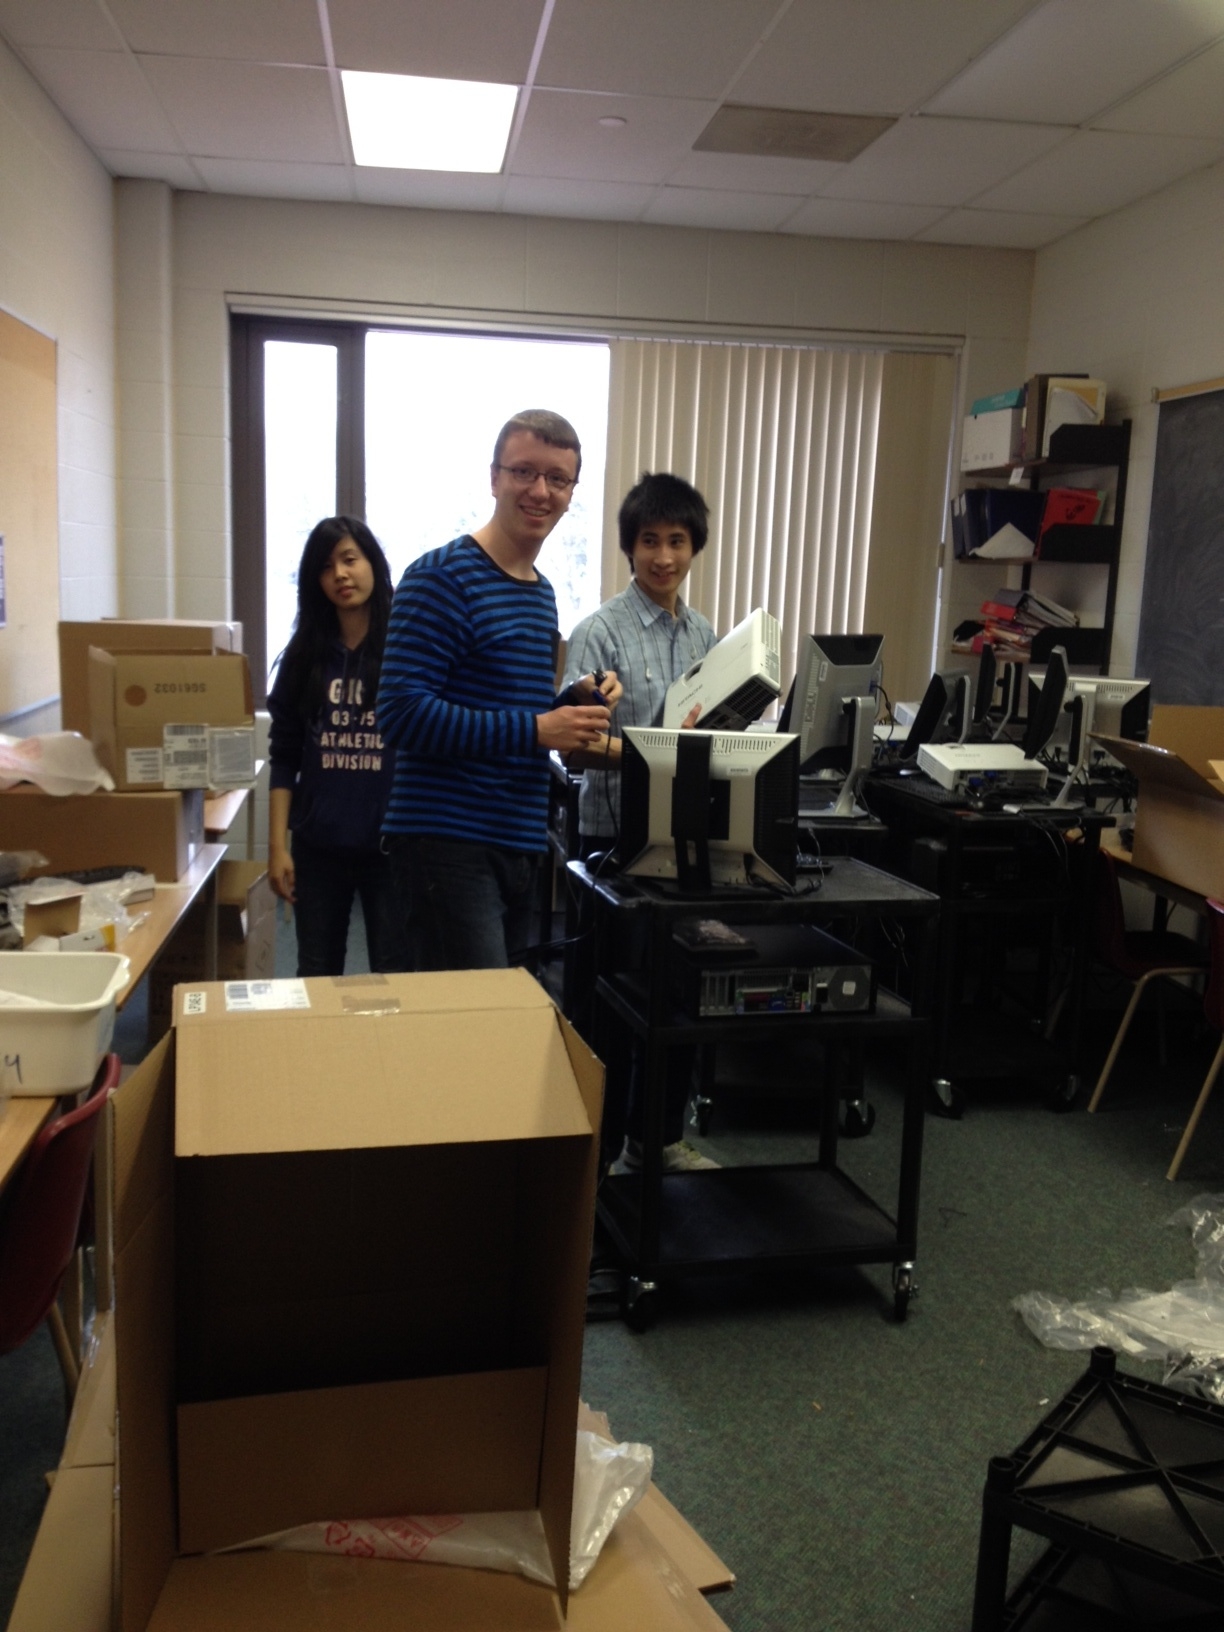
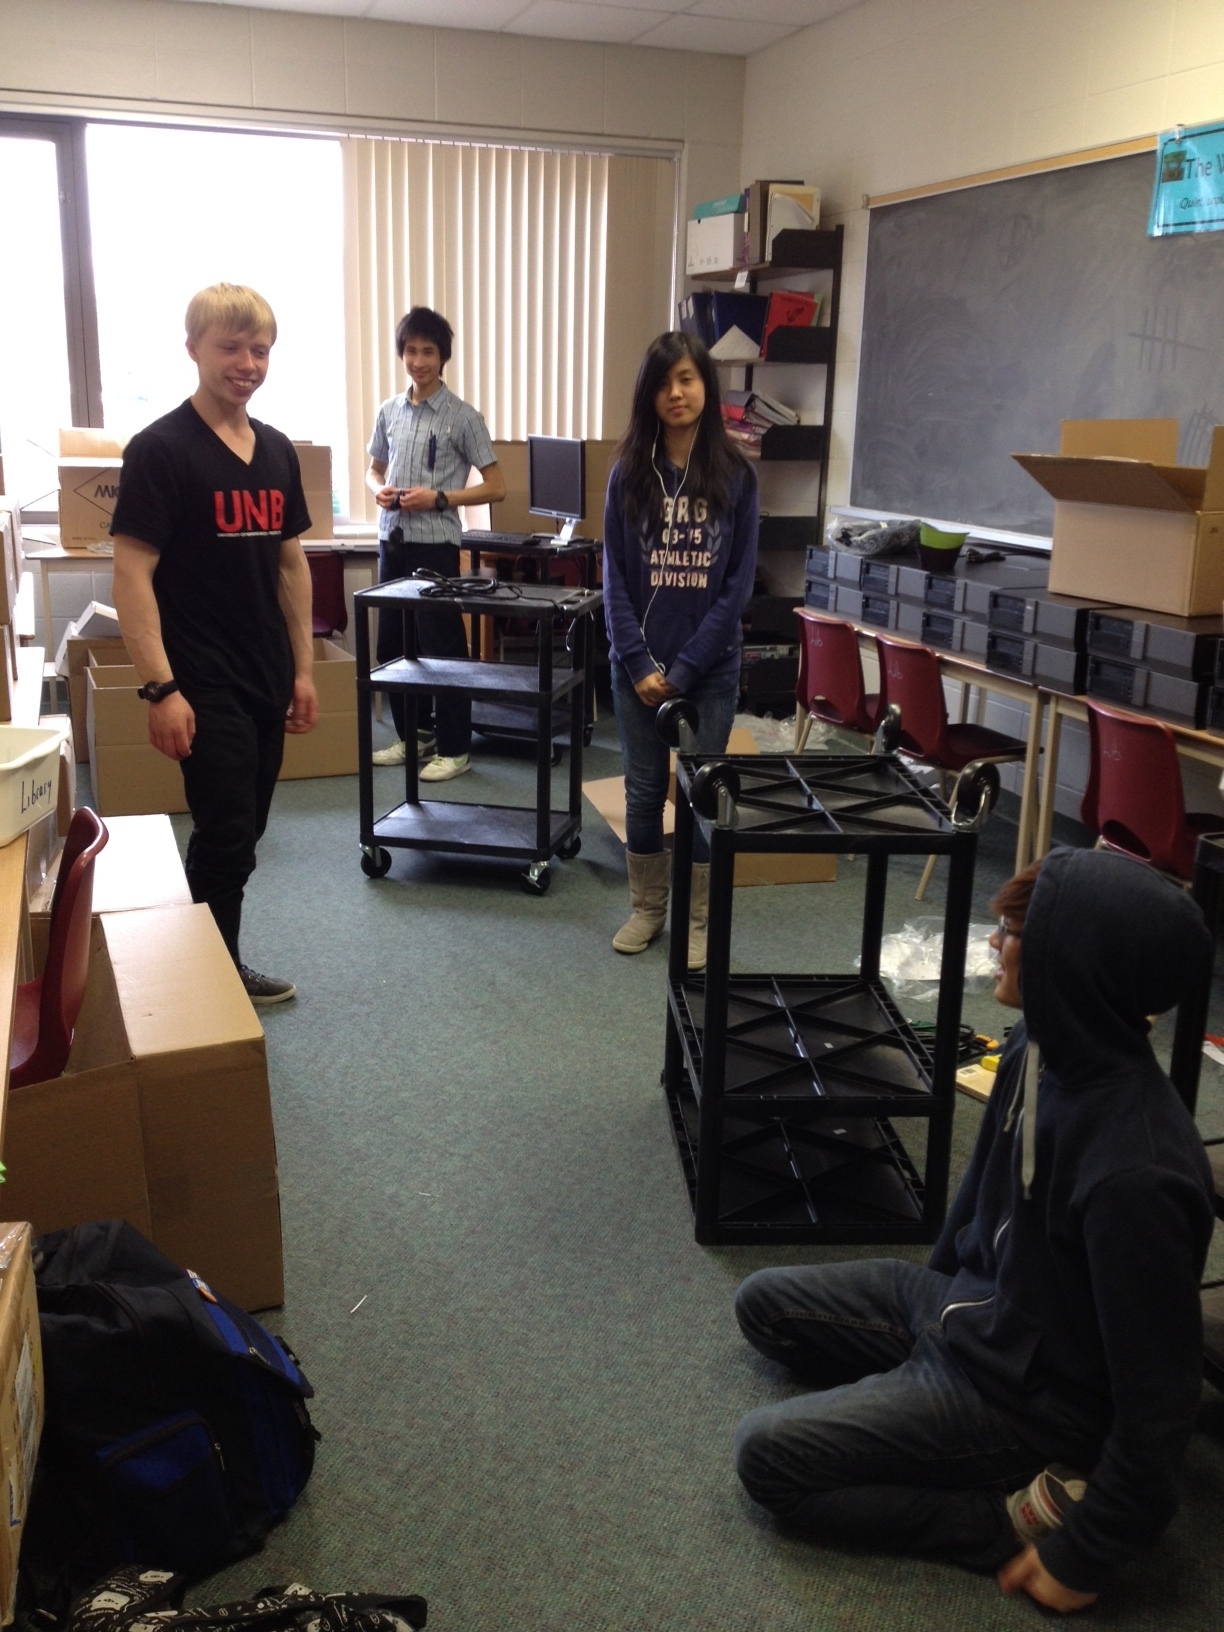
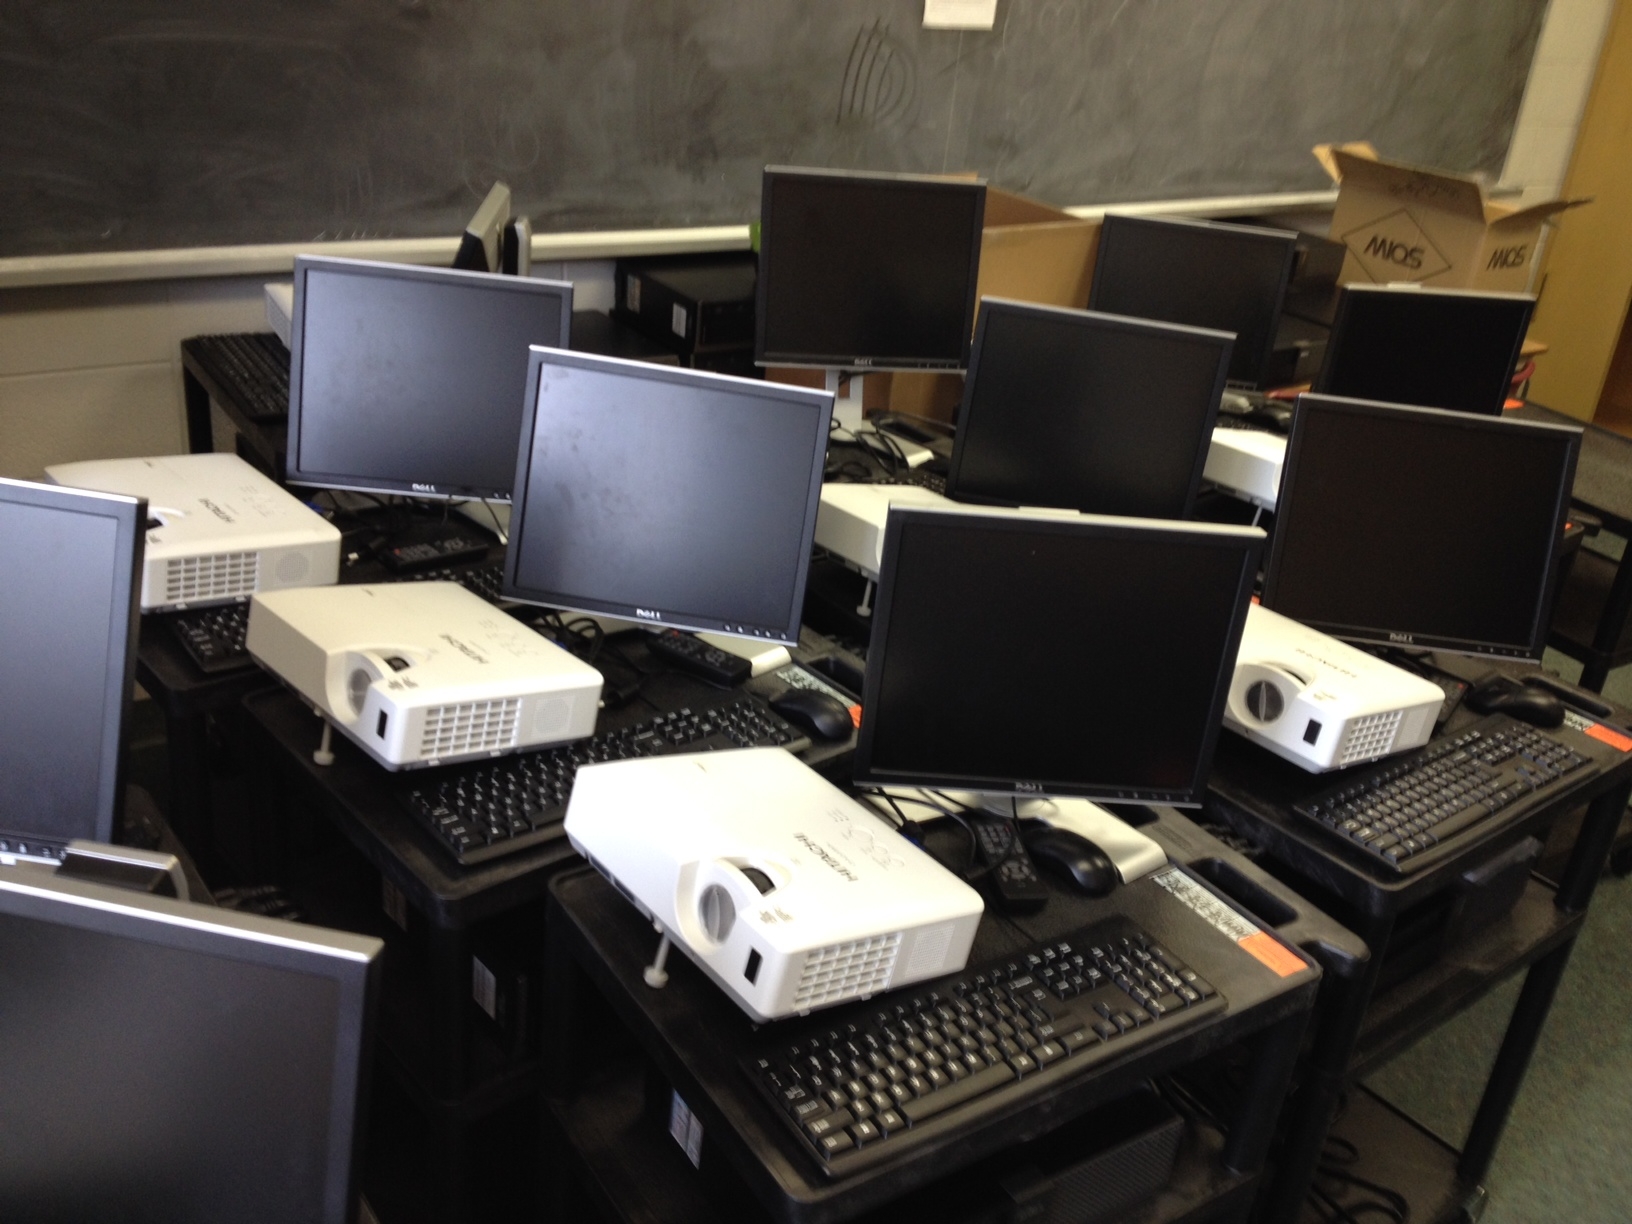
Just want to thank and applaud our amazing students (SWAT team volunteers and more) who put together the new "projector carts" for the remaining classrooms in the school. Amazing crew!


Thanks Ken, Irene, David, Phil, Andrew, Kevin & Kevin, Sameer, Jacob, Alex and Joyce! 
Special thanks to Mrs. Flatman for organizing the classroom-needs list, Mr. Harvey for supporting and funding the project, Mr. Zambazis for his expertize, cables, locks, ethernet cords, and future troubleshooting, Ms Ferraro & Ms Oldham for coordinating and managing the orders, and to all others who have been advocating and problem solving all along.
We're almost there!

Monday, April 7, 2014

Getting books into readers hands

We're having a great time adding all new purchases to our Pinterest boards, it gives a quick bright visual to browse through. Thanks for the idea Enid Wray, and thanks to Joyce, our ever-handy iHelp desk student volunteer doing most of the entries. Have a look!

And we're test driving a new "search tool" from google: What do you love? It's a fun way to quickly collect results in different categories. Try it!


Sunday, February 9, 2014

OLA SuperConference 2014

Every year, a few thousand Ontario librarians converge on the Metro Convention Centre for our annual SuperConference, an intense 4 days of learning. This year, four Riverdale students accompanied us as "expert student forum panel members" to answer questions from 100+ school librarians.
Here's a sample, with Andrew Bradley articulately answering: "Think about how you find information online. What could schools be doing to help you sift through and know what is reliable in the information you find online?"
Students just blow me away every day.

http://youtu.be/ShuelIXSUgY

Friday, February 7, 2014

Expeditions in 3D

We have taken the plunge into maker thinking with a 3D printer in the school library, available for anyone in the school. We have started out as an extracurricular club, with two of us staff-advising (thank you Mr. Le!) with the hope that as the students learn and refine the process they will be able to share tips with others. The students' first project has been to learn to design in a 3D digital program (originally SketchUp, but we may also to try TinkerCad, 123D, 3Dtin, and perhaps others) to create architectural scale models of the library furnishings in order to use them with a blueprint as we redesign the space.


It is a steep learning curve, it all still seems very "beta": the software (either for designing or printing) is not wrinkle-free yet, and not intelligent enough to discover (and announce or fix) gaps or geometric consistency errors in our designs that will goof up in the printer, but we have plowed on with new successes bit by bit.

It is super easy to print from a ready-made and tested design (ex. from Thingiverse, and some of our prints on the left),
but the real challenge is to design something of your own creation and have it successfully transfer and print.


While it is easy to joke about a pricey machine just to make 25 cent plastic doohickeys, that is of course not the point. The students are learning to think in 3D, learning new technologies, to design a 3D object in a 2D digital platform, to transform life size objects into proper architectural scale, to be at the forefront working in a medium that will be normal in a couple of years, to be a maker not just a consumer, to solve problems as they come up, to investigate, research, and test solutions, to be patient, to explore, that failure is part of learning, and success is all the sweeter when you've worked hard for it.

We are using a Makerbot Replicator 2X.


Here are a few of our discoveries:
  1. Prints take a LOOOOOOONG time. We're not talking Star Trek replicators (yet!) A small object the size of a quarter may take 12 minutes, but anything larger, like this, can take almost two hours, and more solid objects can take many more hours.
  2. You really have to be there and watch over the printing process. Don't just start it and walk away. Prints can fail at any stage and leave you with a big mess (the "blob" being one). Our first blob (which was supposed to be my house) fortunately only wrapped around the extruder metal heated parts so was easy to scrape off, but one poor fellow had to replace his extruder after an overnight blob crept up into the wiring. Blob vs. house: 
  3. Not everything sticks to the build plate (even with a raft) so you have to stop the build. We will play around with acetone on the kapton surface, heating the build plate a bit more, slowing the print. It would be nice if we could slow the beginning of the print then speed it up once established. The software is not sophisticated enough to allow that yet.
  4. We had originally purchased the bot with the intention of using PLA plastic instead of ABS plastic for environmental reasons (PLA being a kind of sugar-based plastic, with a lower melt temperature, and fewer fumes). But after trial and error we discovered the 2X really isn't optimized for PLA after all. We were lucky enough to have only opened 2 spools of filament and could return and replace our other spools for ABS.
  5. Our initial default prints (pre-designed and loaded in the Makerbot SD card) went fine, though we were disappointed to see little flaws in the final products (some threads of ABS don't seem as tight as they should be, some little blobs at the end of the M Token print, some rough surfaces). Such is the current state of the technology (at our price point).
  6. The first student-designed item, a wrench, went quite well, though testing it at different profile resolutions (standard, high, low) gave confusing counter-intuitive results, we'll have to play with that more.
  7. Sadly several of the next student-designed prints failed. They were simple objects, bookshelves, but the prints came out badly, with missing shelves, or shelves only partially completed and more. We have no idea why.
  8. We were recommended (by Makerbot tech support) to run any of our .stl files through cloud.netfabb.com, and that has really helped "clean up" the files to successfully print. But we don't know why the translation from Sketchup to Makerware created such a poor prints in the first place.
      
  9. We still don't quite get how to work with "shells" and what to do about them. Netfabb consistently reduces the shells in our files, and we can alter the number of shells in Makerware, but haven't learned enough yet why or when to do so nor what effect they will have. We're hoping it cleans up and tightens the prints.
  10. I had a terrific Google+ Hangout session last night with two (new to me) twitter colleagues who are also integrating 3D printing with their programs, thanks @TeacherHann and @hdurnin!), it's a great way to pool our experience. We'll share a sample .stl file to print on each of our machines for comparison. Here are a few more tips to check that I learned from them: 
    1. be sure the build plate and nozzles are properly aligned and calibrated 
    2. check that "preheat the build plate" is in fact checked off in Makerware > make > advanced > temperature)
    3. design everything as "components" in SketchUp to avoid gaps and errors
    4. we might try cleaning the kapton (with acetone?), and slowing the prints for ones that don't seem to stick well.
We'd love to hear your experiences too, please add to the collective knowledge as we learn to integrate these new technologies!

(images updated April 4 2014)